
Professional LED lighting
LED Strip Lights & Neon Flex Accessories: Professional Installation Solutions
74 products
Pick the wrong connector and a £200 strip installation fails at a £2 junction — pick the right accessories and every joint holds for years. UK LED Lights stocks the full 2026 range of LED strip accessories from our Te...
Read more Show less
Pick the wrong connector and a £200 strip installation fails at a £2 junction — pick the right accessories and every joint holds for years. UK LED Lights stocks the full 2026 range of LED strip accessories from our Telford warehouse: solderless connectors, corner and T-junction pieces, extension cables, mounting clips, end caps, heat shrink tubing, and neon flex hardware.
Our LED strip accessories cover 2-pin single colour, 4-pin RGB, and 5-pin RGBW connectors, plus neon flex front caps, end caps, and clips from 6x12mm to 16x16mm. Free UK delivery on every order — call 01952 370008 or email sales@ukledlights.co.uk for advice on which parts fit your strip.
Solderless Connectors · L-Shape · T-Shape · 2-Pin · 4-Pin · 5-Pin · Extension Cables · Splitter Cables · DC Jacks · End Caps · Front Caps · Mounting Clips · Heat Shrink · Neon Flex Hardware · Profile Accessories · Free UK Delivery
Quick decision — which LED strip accessory do you need?
- Joining two strips end to end: Strip-to-strip solderless clip matched to your width (8mm or 10mm) and pin count (2-pin single colour, 4-pin RGB, 5-pin RGBW).
- Turning a 90-degree corner: Flexible wire L-connector — rigid PCB types crack if the angle is not exactly 90 degrees.
- Splitting one driver to multiple runs: Splitter cable in 1-to-2, 1-to-3, or 1-to-4 configurations.
- Outdoor weatherproof join: Solder the joint and seal with adhesive-lined heat shrink — solderless clips are not suitable outdoors.
- Finishing neon flex neatly: Silicone front cap at the wire entry, end cap at the tail, sized to your profile (6x12mm through 16x16mm).
Who LED strip accessories are for: DIY homeowners completing strip projects. Electricians who need connectors that hold behind finished ceilings. Commercial fit-out teams running multi-zone installations. Anyone extending or repairing LED strip or neon flex in 2026.
Who LED strip accessories are NOT for: If you need the strip itself, browse our LED strip lights collection. For drivers or power supplies, visit our LED driver range. For controllers, see the LED controller page.
Common buying mistakes to avoid:
- Wrong pin count: A 2-pin connector will not work on RGB strip (needs 4-pin) or RGBW (needs 5-pin). Check the pad layout printed on your strip before ordering.
- Solderless connectors outdoors: Exposed metal contacts corrode within weeks in UK humidity. All outdoor joints must be soldered and sealed with adhesive-lined heat shrink.
- Wrong width connector: Strip widths vary (8mm, 10mm, 12mm). A 10mm connector will not grip 8mm strip, causing flickering or dead sections.
- Voltage drop on long cables: A 5-metre extension on 12V high-wattage strip creates visible brightness drop. Use thicker gauge cable or step up to 24V or 48V.
Jump to section:
What LED strip connectors do you need for each strip type?
LED strip connectors are matched by pin count and strip width. Single-colour strip uses 2-pin connectors, RGB uses 4-pin, and RGBW uses 5-pin. You must also match the physical width — 8mm or 10mm for standard strip, 12mm for high-density and RGBW variants. Getting either measurement wrong means the connector will not make proper electrical contact.
| Strip Type | Pin Count | Common Width | Connector |
|---|---|---|---|
| Single colour (white) | 2-pin | 8mm or 10mm | 2-pin solderless clip |
| CCT tuneable white | 3-pin | 10mm or 12mm | 3-pin solderless clip |
| RGB colour-changing | 4-pin | 10mm or 12mm | 4-pin solderless clip |
| RGBW colour + white | 5-pin | 12mm | 5-pin solderless clip |
| RGB CCT (5-channel) | 6-pin | 12mm | 6-pin solderless clip |
- Strip-to-strip clip: Joins two ends back to back with no wire. Best for straight-line extensions inside a profile.
- Strip-to-wire pigtail: One clip end, one free wire tail. Use where you need to bridge a gap or connect to a driver terminal.
- Wire-to-wire coupler: Joins two free wire ends. Useful when linking extension cables.
Not sure which fits your strip? Call 01952 370008 — we will confirm the exact width, pin count, and part number.
Are solderless connectors reliable for permanent installations?
Solderless connectors are reliable for indoor, dry, static installations where the strip is mounted flat and not subject to vibration or moisture. For outdoor use, high-power runs above 20W per metre, or joints inside sealed IP67/IP68 housings, soldered connections with heat shrink tubing remain the professional standard in 2026.
| Factor | Solderless Connector | Soldered Connection |
|---|---|---|
| Skill required | None — tool-free | Basic soldering iron skill |
| Speed | Under 30 seconds | 2–5 minutes per joint |
| Indoor reliability | Good — typically 5+ years undisturbed | Permanent bond |
| Outdoor suitability | Not recommended | Yes — with heat shrink seal |
| Removability | Yes — strip slides out | Must cut and redo |
| Profile compatibility | May not fit narrow profiles | Sits flat — fits all profiles |
| Cost per joint | £0.50–£1.50 | Approximately £0.10 |
Most 2026 failures trace back to cheap connectors, wrong width, or clips used in environments they were never designed for.
Which corner and shape connectors work with LED strip?
L-shape connectors turn strip through 90 degrees, T-shape connectors split a run into two perpendicular directions, and cross connectors branch in four directions. All are available as rigid PCB or flexible wire versions. Flexible wire types are more forgiving on angle accuracy and fit inside aluminium profiles more easily than rigid PCB types.
- Rigid PCB L-connector: Clean appearance, minimal light gap. Works only if the angle is precisely 90 degrees — even 2–3 degrees off and the strip lifts.
- Flexible wire L-connector: Accommodates angles from approximately 75 to 120 degrees. Better for kitchen corners where walls are rarely perfectly square.
- T-connector: Splits one run into two branches — useful for lighting both sides of a kitchen island from a single driver.
- Cross connector: Four-way branch for commercial ceiling grid layouts.
All shape connectors must match your strip's pin count and width. Measure your aluminium profile channel width before ordering — some rigid connectors are too wide for narrow profiles.
What extension and splitter cables are available?
Extension cables bridge the gap between strip and driver when the standard lead is too short — stocked in 1m, 2m, and 5m lengths for single colour, RGB, and RGBW. Splitter cables divide one output into 2, 3, or 4 feeds. Both must match pin count and carry sufficient current for the total wattage they serve.
- Single-colour extension (2-core): Red/black pair with DC connectors. Standard 22AWG suits runs to approximately 5 metres.
- RGB extension (4-core): Four colour-coded wires. Use between your RGB controller and strip.
- RGBW extension (5-core): Five wires for four colour channels plus dedicated white.
- Splitter cables: Total wattage across all branches must not exceed the driver's rated output — a 100W driver with a 1-to-4 splitter serves four 25W runs, not four 100W runs.
For longer runs, use heavier gauge cable rather than chaining thin extensions. 48V strip drops voltage at half the rate of 24V over the same distance.
What mounting clips do you need for neon flex?
Neon flex needs purpose-made clips matched to its cross-section — from 6x12mm to 16x16mm. Standard LED strip clips will not grip neon flex. Aluminium clips suit outdoor and commercial use; PVC clips suit indoor work. Space clips every 30–50cm on straight runs, every 15–20cm around curves.
- Profile match: Each size needs its own clip — forcing flex into the wrong clip damages the silicone jacket.
- Aluminium vs PVC: Aluminium for outdoors, vertical runs, heat dissipation. PVC for indoor decorative use.
- Outdoor: Screw-fixed clips only — adhesive pads fail in UK weather within 6–12 months.
Browse our neon flex clips or call 01952 370008 for spacing advice.
How do you choose end caps and front caps for neon flex?
Every neon flex installation needs a front cap (wire entry) and an end cap (sealed termination), matched to the cross-section — 6x12mm, 8x16mm, 10x20mm, 12x20mm, 14x25mm, or 16x16mm. Mismatched caps leave gaps that admit moisture and dust.
- Front caps: Hole for wire exit. Single-colour = 2-wire; RGB = 4-wire with larger entry.
- End caps: Solid silicone, no opening — seals the non-wired end cleanly.
- Sealing: Apply RTV silicone adhesive inside the cap before fitting. Allow 24 hours cure time.
When should you use heat shrink tubing?
Use heat shrink on every soldered LED strip connection, every outdoor joint, and any junction exposed to moisture or mechanical stress. Adhesive-lined heat shrink provides a waterproof seal rated to approximately IP67 — the inner glue layer melts and flows around the wires when heated, sealing the connection completely.
- Standard heat shrink: Insulation and physical protection — suitable for indoor dry connections only.
- Adhesive-lined heat shrink: Watertight seal. Required for outdoor and bathroom installations. Recommended on all soldered joints as best practice.
- Sizing: Pre-shrink diameter should be at least 1.5 times the connection diameter. Use 4–5mm for 2-core wire, 6–8mm for 4-core RGB, 12–15mm to cover the full strip PCB width.
Always slide tubing onto the wire before soldering, then heat evenly until sealed with no air gaps. Email sales@ukledlights.co.uk for sizing help.
What accessories do aluminium LED profiles need?
Aluminium profiles need three accessory categories: diffuser covers (opal, frosted, or clear), end caps (blanked and cable-exit versions), and mounting clips. Most profiles ship with these included, but replacements and additional clips are available separately for all 2026 UK LED Lights profile ranges.
- Diffusers: Opal eliminates visible LED dots — essential when the profile is visible. Clear maximises output but shows individual LEDs. Snap-fit replacement without removing the profile.
- End caps: Supplied in pairs — one sealed, one with cable hole. Need power from both ends? Order two cable-exit caps.
- Mounting clips: Minimum two per metre. Add an extra clip at each end for ceiling-mounted profiles to prevent sag.
- Corner brackets: Internal aluminium pieces joining two profiles at 90 degrees for L-shaped kitchen runs.
- Suspension kits: Steel cable and ceiling anchors for pendant-mounted profiles at adjustable drop heights.
Note your profile model number before ordering — diffusers and end caps are not cross-compatible between manufacturers. Confirm compatibility with your aluminium profile on 01952 370008.
How do you avoid voltage drop on extended runs?
Voltage drop across cables and connectors makes the far end of a strip run dimmer than the feed end. Three solutions: use heavier gauge cable, reduce cable length between driver and strip, or switch to higher voltage strip. 48V drops voltage at half the rate of 24V over the same distance — the preferred choice for long 2026 installations.
- Cable gauge: Standard 22AWG extensions suit short runs. Upgrade to 20AWG or 18AWG for runs over 3m at 12V or over 5m at 24V.
- Minimise connectors: Each solderless clip adds contact resistance. Use single long cables rather than chaining short extensions.
- Parallel wiring: Feed power from both ends to halve effective cable length. Our LED drivers include dual-terminal models for this purpose.
- Voltage selection: Runs over 10m benefit from 48V COB strip — half the current means half the voltage drop.
Practical limits with 22AWG cable: under 5m for 12V, under 10m for 24V, under 20m for 48V.
Why buy LED strip accessories from UK LED Lights?
UK LED Lights is a specialist supplier in Telford, Shropshire — not a wholesaler or marketplace seller. Every accessory is compatibility-tested against our strip and neon flex ranges. You get correct parts, free UK delivery, and a technical team on 01952 370008 who confirm exactly which part fits your project.
- Tested compatibility: Every 2026 accessory is tested against the strip and neon flex we sell.
- UK stock, same-day dispatch: Orders before 2pm ship same day from Telford.
- Free delivery: No minimum order, mainland UK.
- Technical support: Call 01952 370008 (Monday–Friday, 9am–5pm) or email sales@ukledlights.co.uk.
- Trade accounts: Volume pricing for electricians, designers, and commercial teams.
- One supplier: UK LED Lights (Company No: 12301805) stocks strip, drivers, controllers, and profiles — tested compatibility.
- The right connector saves hours of soldering on site — our Telford warehouse holds over 40 connector types in stock for same-day dispatch.
- We have matched connectors to every strip width and pin count in our range — the compatibility guide on each product page eliminates guesswork.
Recommended accessory kit for a 5-metre single colour LED strip installation
- Connectors: 2x 2-pin solderless strip-to-wire pigtails for feed and end connections
- Extension cable: 1x 2-metre 2-core extension cable between driver and strip start point
- End caps: 1x open end cap (cable exit) + 1x closed end cap per profile section
- Heat shrink: 4-5mm adhesive-lined heat shrink for all soldered joints (if soldering instead of connectors)
- Total cost guide: Approximately £8-15 for a complete accessory kit for a single-zone single-colour installation
Your installation may need different connectors, clips, or cable lengths depending on strip width and mounting surface. Call 01952 370008 or email sales@ukledlights.co.uk for advice on the right accessories for your setup.
Frequently Asked Questions — LED Strip Accessories
Do solderless connectors work with COB LED strip?
Yes — match the correct width (8mm or 10mm) and pin count. COB strip has the same copper pads as SMD. The PCB is slightly thicker, so confirm the connector latches fully before relying on it.
- Pins: Single-colour COB = 2-pin; RGB COB = 4-pin; RGBW COB = 5-pin.
- Check latch: COB thickness can prevent some connectors closing — test before installing.
How many mounting clips per metre of neon flex?
Horizontal runs: 2–3 per metre. Vertical: 3–4 per metre. Curves: 5–7 per metre. For a 5-metre install with two curves, order approximately 20 clips.
- Horizontal: Every 30–50cm.
- Vertical: Every 25–35cm.
- Curves: Every 15–20cm.
Can you use LED strip extension cables with neon flex?
Yes — same cables, same pin counts. Single-colour neon flex uses 2-core cable; RGB uses 4-core. The only difference is neon flex needs a soldered attachment rather than a clip-on connector.
- Connection: Solder to the neon flex wire leads, seal with adhesive-lined heat shrink.
What size heat shrink for LED strip connections?
4–5mm for 2-core wire, 6–8mm for 4-core RGB, 8–10mm for RGBW, 12–15mm to cover full strip PCB width. Use adhesive-lined for outdoor or IP67/IP68 installations.
- Rule: Pre-shrink diameter should be at least 1.5x the connection diameter.
Do single-colour and RGB neon flex use different end caps?
Sealed end caps are identical for both — matched by cross-section only (6x12mm, 8x16mm, etc.). Front caps differ slightly: RGB versions have a larger hole to accommodate four wires instead of two. The outer dimensions still match the cross-section profile.
- End caps: Same for single-colour and RGB — size only.
- Front caps: RGB has larger wire entry hole.
Can you join different brands of LED strip?
Yes — provided both share the same voltage, pin count, and width. Connectors grip standardised copper pads regardless of brand. Different manufacturers may produce slightly different colour temperatures at the same rated Kelvin, so use the same brand and batch on visible runs.
- Best practice: Mix brands only in hidden or separate zones to avoid visible colour differences.
Are DC barrel jacks universal for all LED drivers?
The 5.5mm x 2.1mm DC jack is standard for drivers up to approximately 72W but not universal. Some use 5.5mm x 2.5mm — visually identical but not interchangeable. Drivers above 72W typically use screw terminals. Check your driver's spec before ordering.
- Warning: 2.1mm and 2.5mm jacks look identical but do not seat in the wrong socket.
How do you prevent corrosion on outdoor connections?
Solder the joint, seal with adhesive-lined heat shrink, and optionally apply conformal coating spray. Solderless clips must never be used outdoors — exposed contacts corrode within weeks in UK humidity.
- Method: Solder, heat shrink (no gaps), conformal coating for fully exposed joints.
- Avoid: Electrical tape degrades in UV and admits moisture within months.
Can you use solderless connectors in a bathroom?
- Only in dry zones (Zone 2 and outside zones under BS7671) with IP20 strip. Solderless connectors are not waterproof and must not be used where moisture or condensation is present.
- For bathroom Zone 1: Use soldered connections sealed with adhesive-lined heat shrink and IP67-rated strip minimum.
- For Zone 0 (inside shower or bath): IP68 strip with fully potted connections only — no solderless connectors under any circumstances.
Are LED strip accessories covered by warranty?
- Yes — UK LED Lights covers manufacturing defects on all accessories. Connectors, clips, end caps, and cables are warranted against defective materials.
- Warranty does not cover: Damage from incorrect installation, use of wrong pin count or width, or outdoor use of indoor-rated components.
- Contact: Call 01952 370008 or email sales@ukledlights.co.uk Monday to Friday, 9am–5pm, for warranty queries.
What accessories do I need for an outdoor LED strip installation?
- IP67 or IP68 rated strip — IP65 is not suitable for permanent UK outdoor use as it covers surface splashes only.
- Adhesive-lined heat shrink tubing for every soldered joint — standard heat shrink is not watertight.
- IP67 waterproof connectors at every junction — standard indoor solderless clips corrode within weeks outdoors.
- Outdoor-rated aluminium profiles with sealed end caps to protect the strip from weather exposure. Browse our LED strip profiles range.
Can I use a splitter cable with RGB or RGBW strip?
- Yes — use a 4-pin splitter for RGB and a 5-pin splitter for RGBW. The splitter distributes the controller signal and power to multiple strip runs.
- Total wattage rule still applies: All runs combined must not exceed 80 percent of the driver's rated output.
- Keep cable lengths equal: Unequal cable runs from splitter to strip can cause slight colour variation between sections. Trim cables to matching lengths where possible.
Do I need different connectors for 12V, 24V, and 48V strip?
- No — connectors are matched by pin count and physical width, not voltage. A 2-pin 10mm solderless clip works identically on 12V, 24V, and 48V single-colour strip of the same width.
- Important: Never mix voltages on the same circuit. A 12V strip connected to a 24V driver will burn out immediately.
- Cable gauge matters more at lower voltages: 12V strip draws twice the current of 24V at the same wattage — use thicker extension cables on 12V runs to avoid voltage drop.
How do I troubleshoot a dead section of LED strip after connection?
- Check the connector latch: Open the solderless clip and verify the copper contact pads on the strip are clean, undamaged, and making firm contact with the connector pins.
- Verify polarity: Reversed positive and negative wires will prevent the strip from lighting. Check red to positive, black to negative at every junction.
- Test with a multimeter: Measure DC voltage at the strip connection point. If voltage is present but the strip does not light, the strip section may be damaged at the cut point.
- Contact UK LED Lights on 01952 370008 with your strip model and connector type for remote diagnosis.
Can I use LED strip connectors with dimmer systems?
- Yes — connectors carry the dimmed signal from driver to strip without affecting dimming performance. Solderless clips and extension cables work identically at full brightness and dimmed levels.
- For single-colour dimming: Use a trailing-edge dimmer with a TRIAC dimmable driver. Leading-edge dimmers cause flicker — replacing with trailing-edge costs approximately £15.
- For RGB and RGBW dimming: The dedicated controller handles all brightness adjustment. The driver must be non-dimmable constant voltage — dimmable drivers cause colour shift and flicker.
What is the maximum number of connectors in a single LED strip run?
- Minimise connectors wherever possible. Each solderless clip adds contact resistance, which contributes to voltage drop and potential failure points.
- Practical limit: Three to four connectors per 5-metre run is manageable for most installations. Beyond that, consider soldering or using longer single strip sections.
- For runs over 10 metres: Use extension cables back to the driver rather than daisy-chaining connectors. Wire in parallel for consistent brightness.
Does UK LED Lights offer free delivery on accessories?
- Yes — free UK mainland delivery on every order, including accessories. No minimum spend required.
- Orders before 2pm Monday to Friday dispatch same day from our Telford warehouse — Unit D4, Stafford Park 4, Telford, Shropshire, TF3 3BA.
- For urgent orders or bulk quantities, call 01952 370008 to confirm stock and estimated delivery.
Can I return LED strip accessories if I order the wrong size?
- Yes — unused accessories in original packaging can be returned. Contact sales@ukledlights.co.uk or call 01952 370008 to arrange a return.
- Avoid ordering errors: Check your strip width (8mm, 10mm, or 12mm) and pin count (2-pin, 4-pin, 5-pin) before ordering connectors. Both measurements are printed on the strip PCB.
- Free advice before ordering: Call our technical team on 01952 370008 Monday to Friday, 9am–5pm, and we will confirm the exact part you need.
Should I mount LED strip directly on bare metal shelving or brackets?
- Never mount LED strip directly on bare, uninsulated metal. Exposed copper traces on the PCB underside will short-circuit against conductive metal surfaces.
- Solution: Mount inside an anodised aluminium profile, which provides an insulating barrier between the strip and the mounting surface.
- Alternative: Apply insulating tape or a non-conductive liner between the strip and any bare metal surface before adhering.
Can I power LED strip while it is still coiled on the reel?
- Never power LED strip while coiled. Heat cannot escape from a coiled reel — temperatures rise rapidly, adhesive softens, LEDs degrade, and fire risk increases.
- Always uncoil and mount strip fully on a surface or inside an aluminium profile before connecting power.
- Even brief testing while coiled can cause permanent adhesive damage. Mount first, power second — no exceptions.
Ready to complete your 2026 installation? Browse accessories above, or call 01952 370008 (Monday–Friday, 9am–5pm) and email sales@ukledlights.co.uk for advice. Source strip, drivers, controllers, and profiles from one UK specialist with free delivery.
Last reviewed: March 2026 — UK LED Lights technical team, Telford, Shropshire. Specifications current as of 2026.
🏭 UK LED specialist, Telford, Shropshire · ☎️ 01952 370008 · 🚚 Free UK delivery
Explore the range


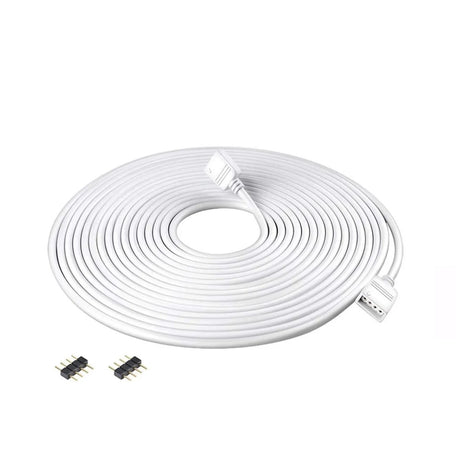
1 Metre DC 12V/24V RGB LED Strip 4 Pin Soldless Connector Cables 5050 3528
SKU: ALRGBEXT-1M£5.72Unit price /Unavailable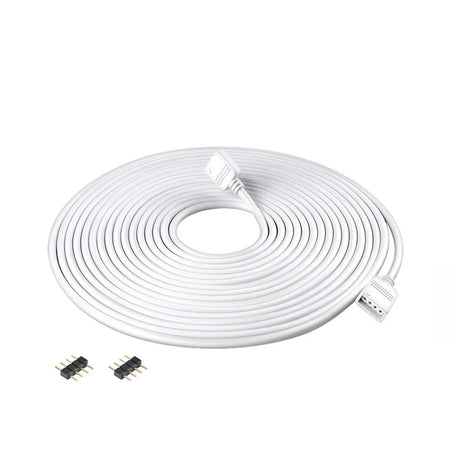
2 Metre DC 12V/24V RGB LED Strip 4 Pin Soldless Connector Cables 5050 3528
SKU: ALRGBEXT-2M£6.85Unit price /Unavailable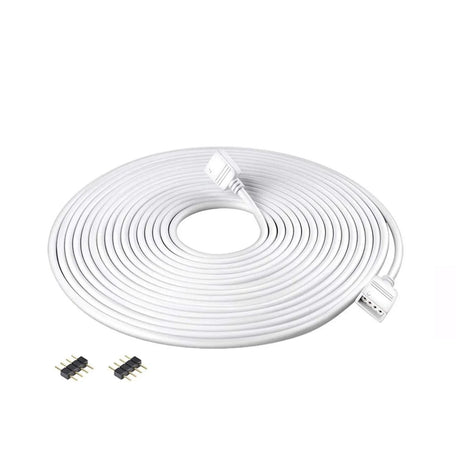
5 Metre DC 12V/24V RGB LED Strip 4 Pin Soldless Connector Cables 5050 3528
SKU: RGBEXT1224V-5M£12.72Unit price /Unavailable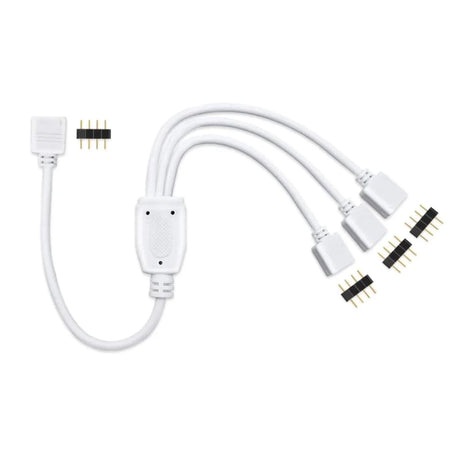
1 to 3 Ports Female/Male Connection Cable 4 Pin Splitter Cable
SKU: ALNFACLIPS-2-1-1£6.25Unit price /Unavailable
1 to 2 Ports Female/Male Connection Cable 4 Pin Splitter Cable
SKU: ALNFACLIPS-2-1£5.20Unit price /Unavailable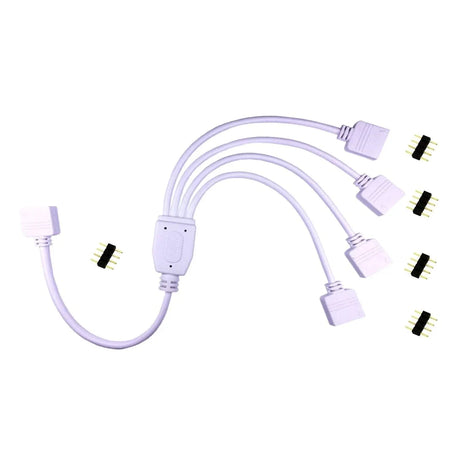
1 to 4 Ports Female/Male Connection Cable 4 Pin Splitter Cable
SKU: ALNFACLIPS-4£7.30Unit price /Unavailable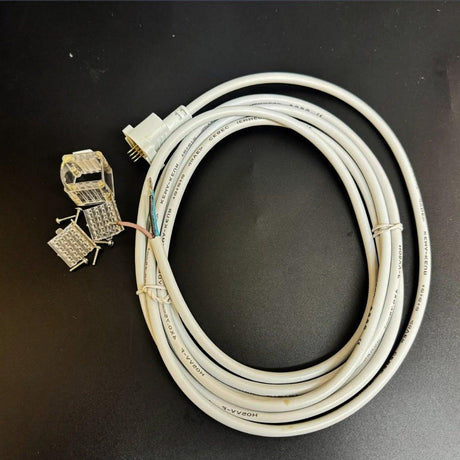
Digital RGB Neon Flex 10x20mm IP68 24V End Cap 3m Wire Connector
SKU: ECAPWIRE1020-DPRGB£12.85Unit price /Unavailable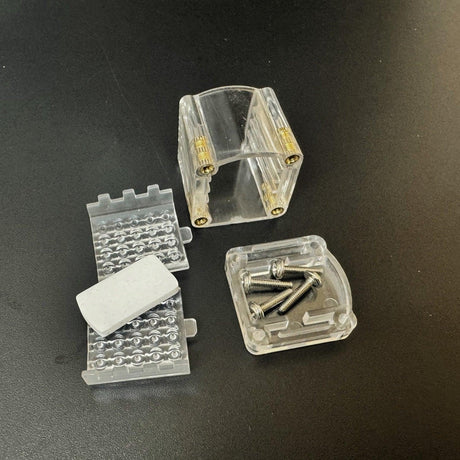
End Cap for for 12V/24V Addressable RGB LED Neon Flex 10x20mm IP68
SKU: ECARGBIP68£9.85Unit price /Unavailable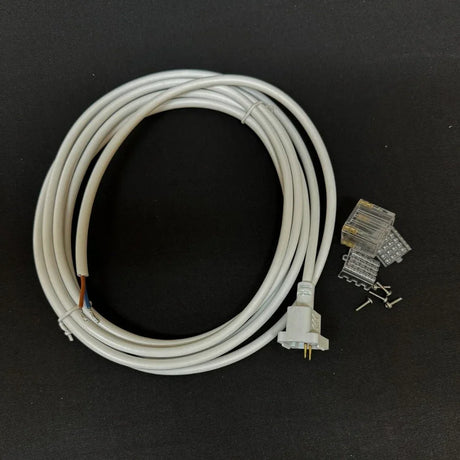
End Cap with Wire For Single Colour LED Neon Flex 24V 10x20mm IP68
SKU: ECAPWIRE1020£12.85Unit price /Unavailable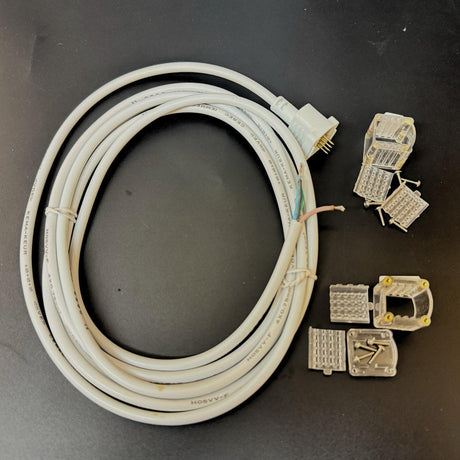
Front Cap & End Cap for for 12V/24V Addressable RGB LED Neon Flex 10x20mm IP68
SKU: FCECARGBIP68£21.85Unit price /Unavailable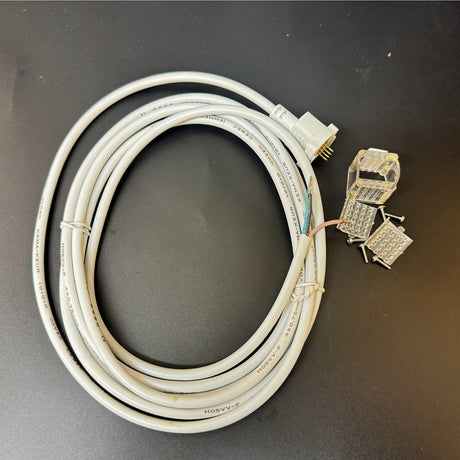
Front Cap for 12V/24V Addressable RGB LED Neon Flex 10x20mm IP68
SKU: FCARGBIP68£14.85Unit price /Unavailable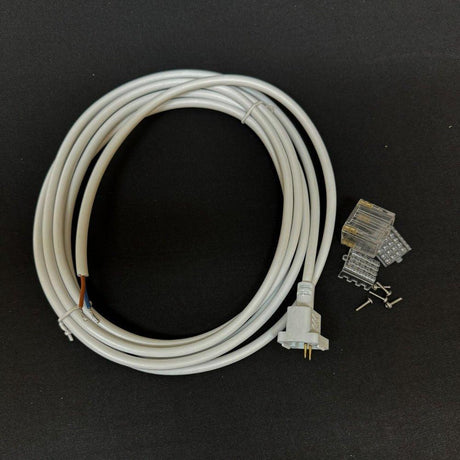
Front Cap with Wire For Single Colour LED Neon Flex 24V 10x20mm IP68
SKU: FCAPWIRE1020£12.85Unit price /Unavailable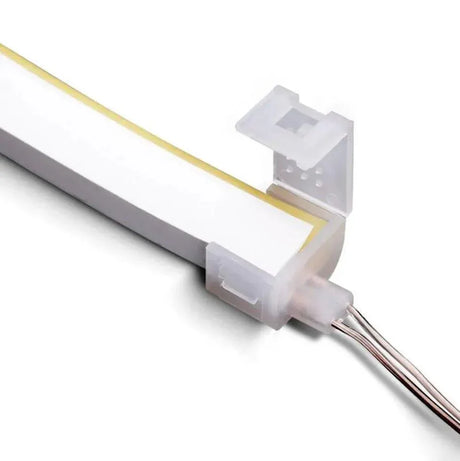
LED Neon Flex 12V/24V Non Welding Wire Connector for 6x12mm Single Colour Neon Flex
SKU: NWCON612£6.75Unit price /Unavailable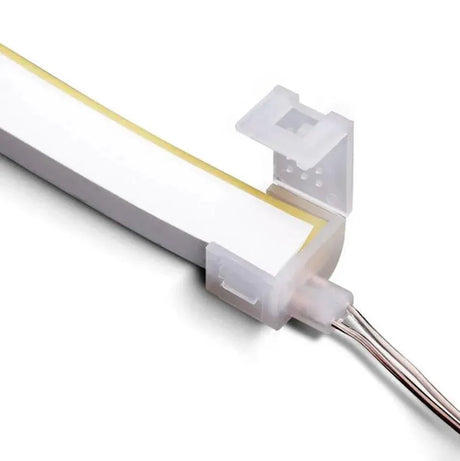
LED Neon Flex 8x16mm Non Welding Wire Connector for 12V/24V Single Colour Neon Flex
SKU: NWCON816£9.85Unit price /Unavailable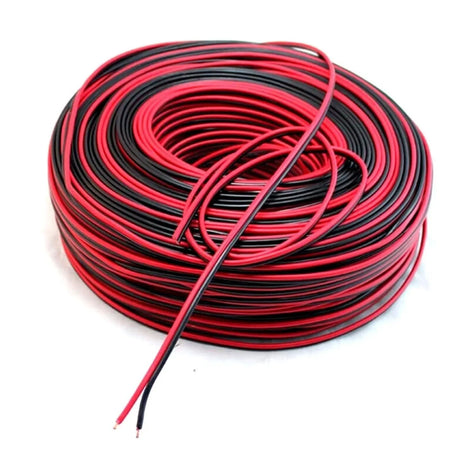
LED Strip 2 Core Extension Wire 17AWG for 2Pin 8mm LED Strip Connector DC Adapter 5 Metre
SKU:From £5.30Unit price /Unavailable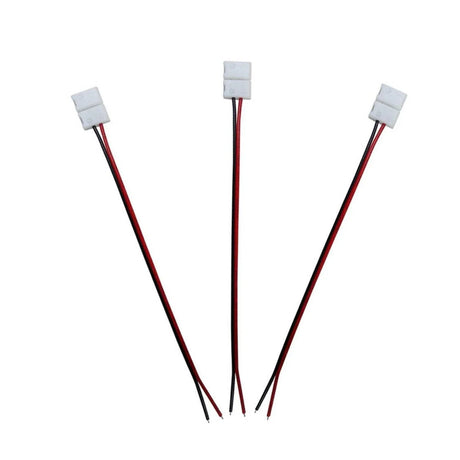
LED Strip Accessories 5pcs 2Pin 10mm Clip to Wire
SKU: ALRGBC10MM4PINL-1-1-1£7.04Unit price /Unavailable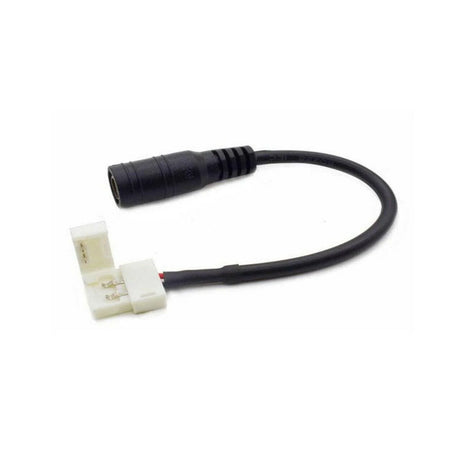
LED Strip Accessories 5pcs 2Pin Clip to DC Female Jack 10mm
SKU: ALRGBC10MM4PINL-1-1£7.82Unit price /Unavailable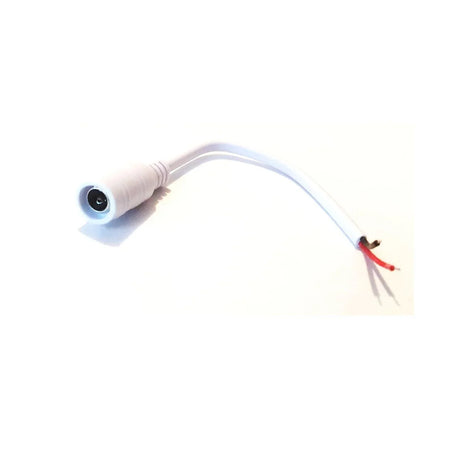
LED Strip Accessories 5pcs Female DC Power Jack 2 pin
SKU: ALRGBC10MM4PINL-1£10.83Unit price /Unavailable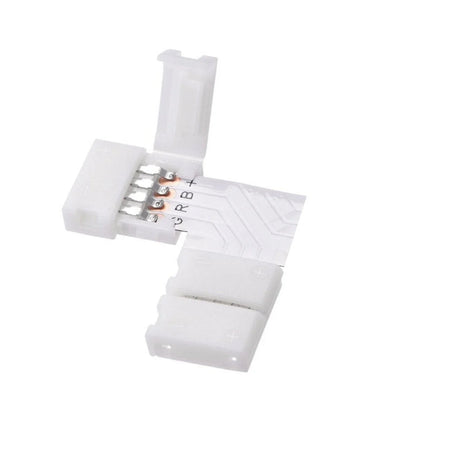
LED Strip Accessories 5pcs L Shape PCB RGB Connectors 4 pin 10mm
SKU: ALRGBC10MM4PINL£5.78Unit price /Unavailable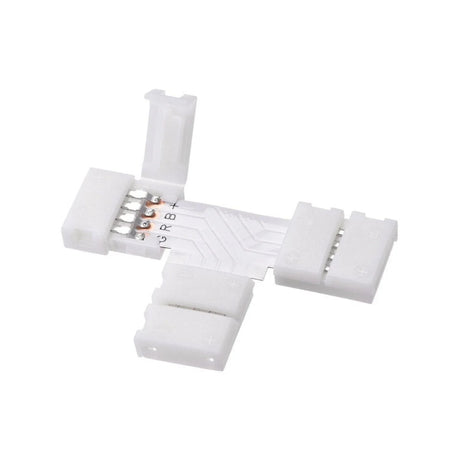
LED Strip Accessories 5pcs T-Shape PCB RGB Connectors 4 pin 10mm
SKU: ALRGBC10MM4PINT£5.78Unit price /Unavailable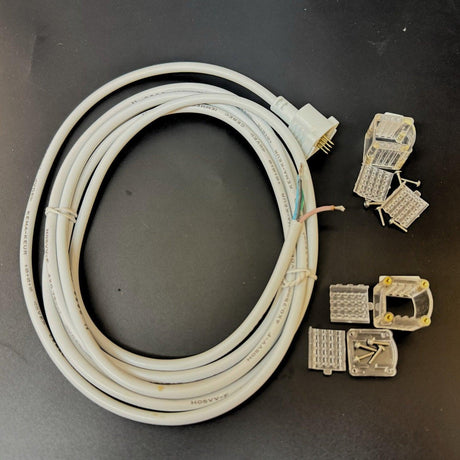
Single Colour Front Cap & End Cap 12V/24V LED Neon Flex 10x20mm IP68
SKU: FC-EC-NFSCIP68£19.85Unit price /Unavailable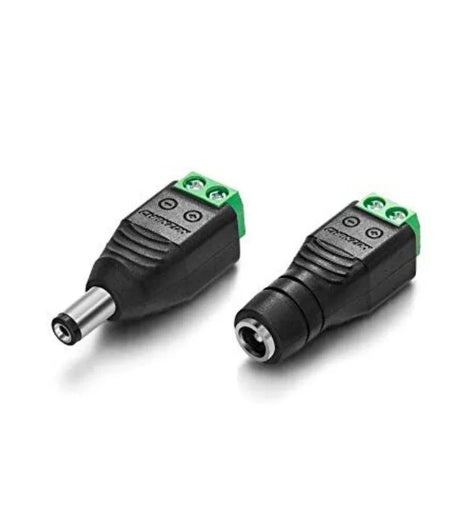
5 Sets 5.5mm x 2.1mm DC Male and Female Jack Connector for LED Strips
SKU: DC12V24V-MFA£11.95Unit price /Unavailable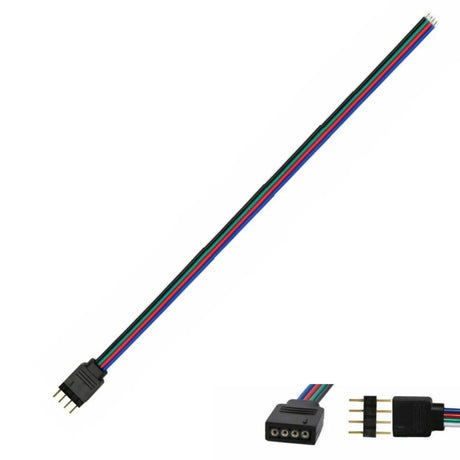
4 Pin RGB LED Strip & Neon Flex Connector 12V/ 24V with 0.5m Extension Cable
SKU: ALRGBCABLE50CM£6.83Unit price /Unavailable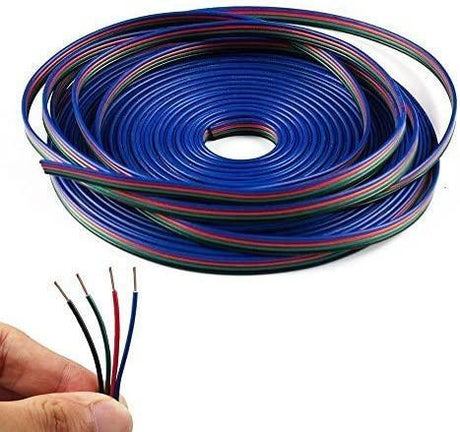
4 Pin RGB LED Strip Extension Wire Connector for RGB 5050 3528
SKU: ALRGBCABLE12V-1From £6.30Unit price /Unavailable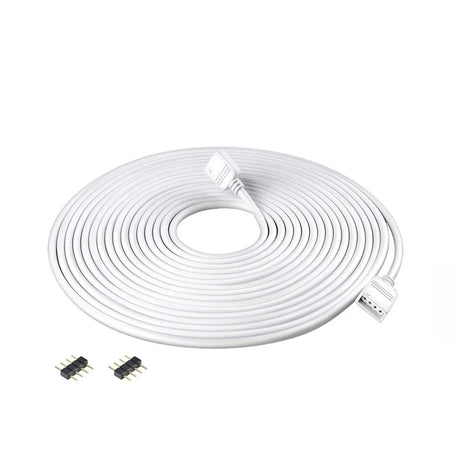
5 Metre DC 12V/24V RGB LED Strip 4 Pin Soldless Connector Cables 5050 3528
SKU: ALRGBEXT-5M£11.85Unit price /Unavailable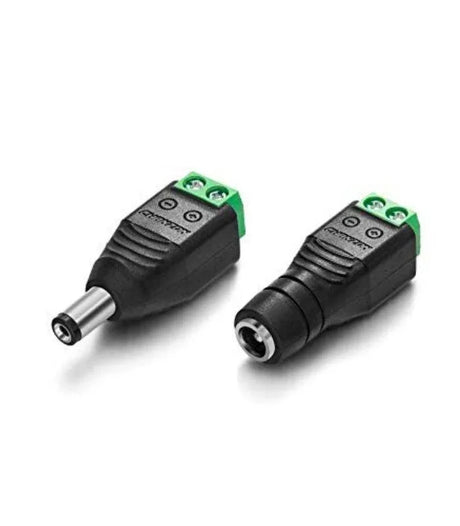 SKU: ALCW5730V220-1-1-1£8.68Unit price /Unavailable
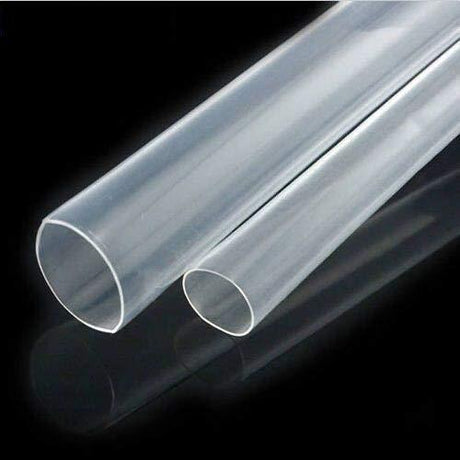
Adhesive Clear Heat Shrink Sleeving - 2:1 Weatherproof Heatshrink Tubing 16-25mm 1 Metre
SKU: HEATSHRINK16mmFrom £6.85Unit price /Unavailable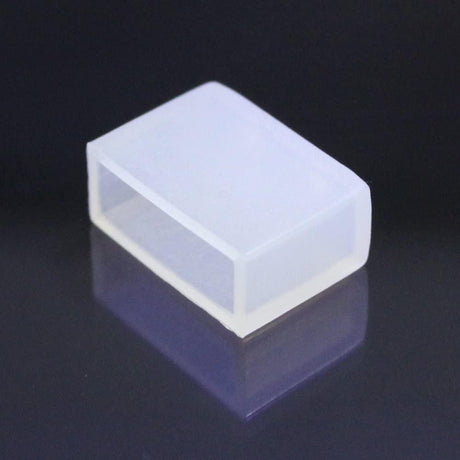
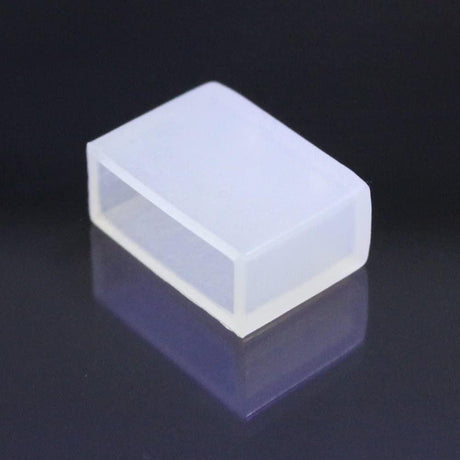
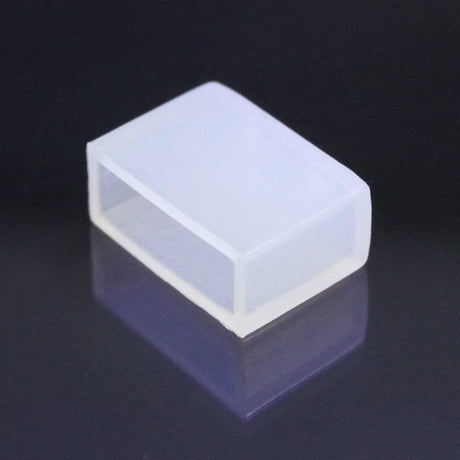
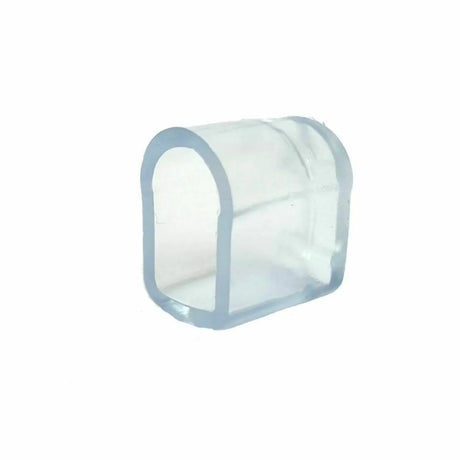
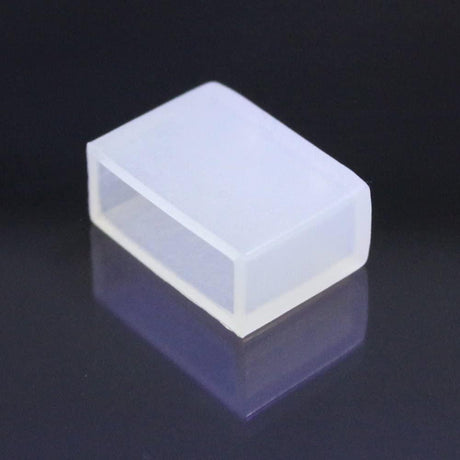
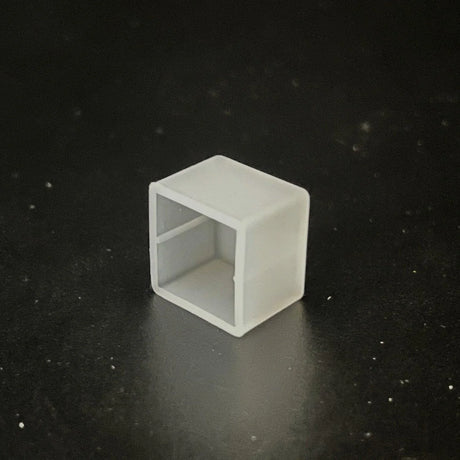
End Cap for LED Neon Flex Flat Shape 16x16mm x 5
SKU: ALENDCAP1616-FS£9.85Unit price /Unavailable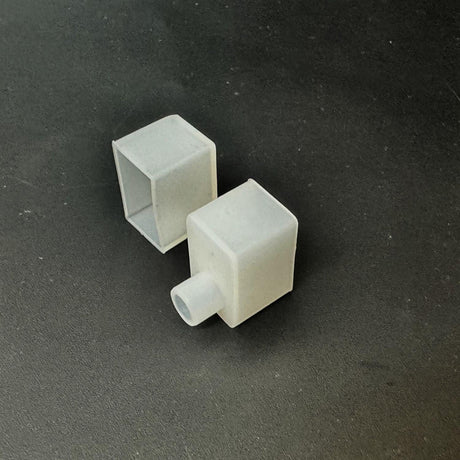
Front Cap & End Cap Set for LED Neon Flex Flat Shape 12x20mm x 5
SKU: ENDFRONTCAP1220£11.95Unit price /Unavailable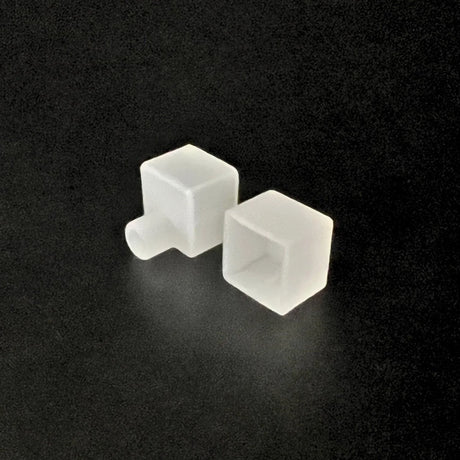
Front Cap & End Cap Set for LED Neon Flex Flat Shape 16x16mm x 5
SKU: ENDFRONTCAP1616£15.75Unit price /Unavailable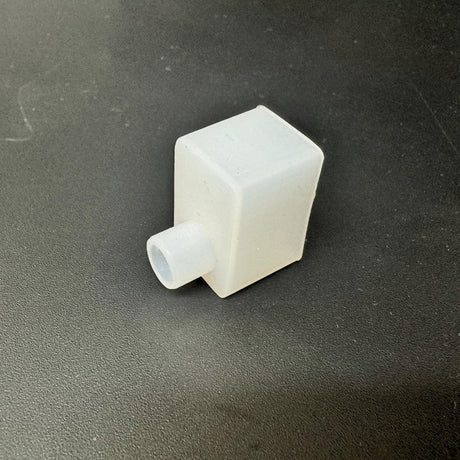
Front Cap for Flat Shape LED Neon Flex 12x20mm
SKU: FRONTCAP1220From £7.75Unit price /Unavailable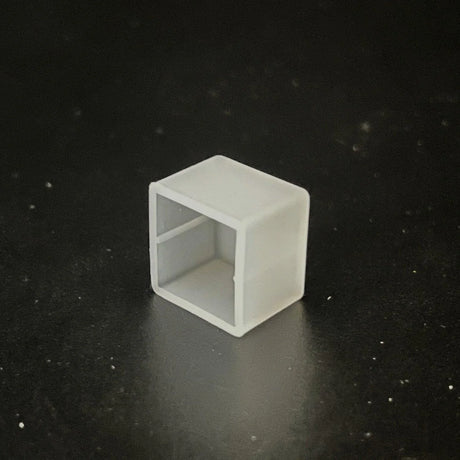
Front Cap for LED Neon Flex Flat Shape 16x16mm x 5
SKU: ALFRONTCAP1616£9.85Unit price /Unavailable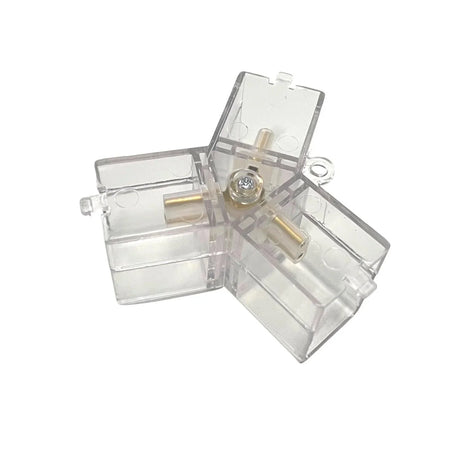
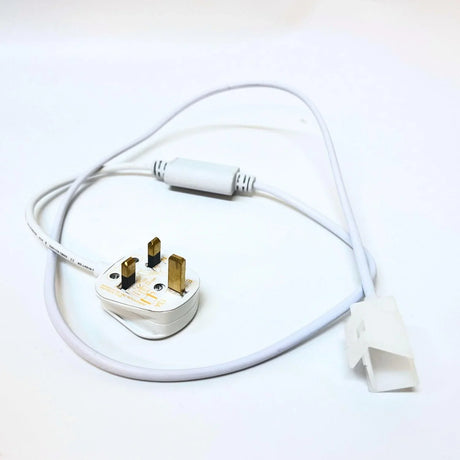
LED Neon Flex 220V 240V 16x16mm Single Colour Connector for 20cm cut Neon Flex
SKU: NFCONTROL16X16-20CUT£12.95Unit price /Unavailable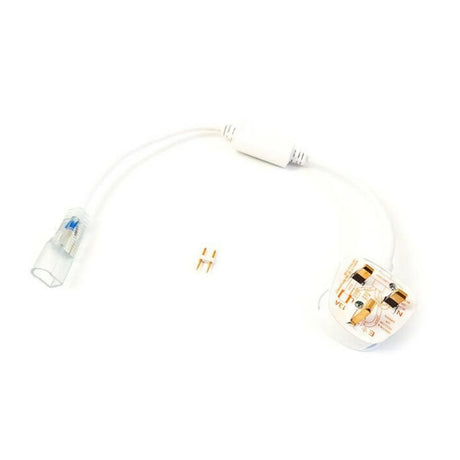
LED Neon Flex AC 220V 240V 8x16mm Single Colour Connector
SKU: NFCONTROL8X16£11.95Unit price /Unavailable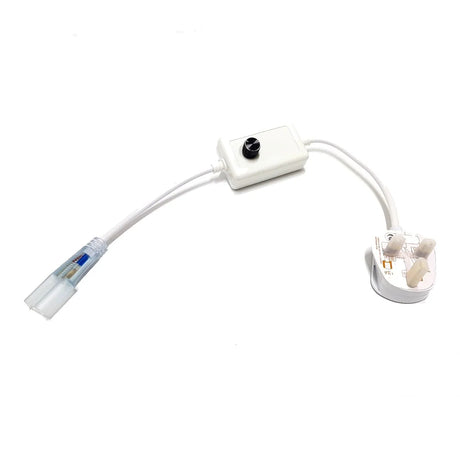
LED Neon Flex AC 220V 240V 8x16mm Single Colour Dimmer Controller
SKU: ALNFDIMC220V816£12.85Unit price /Unavailable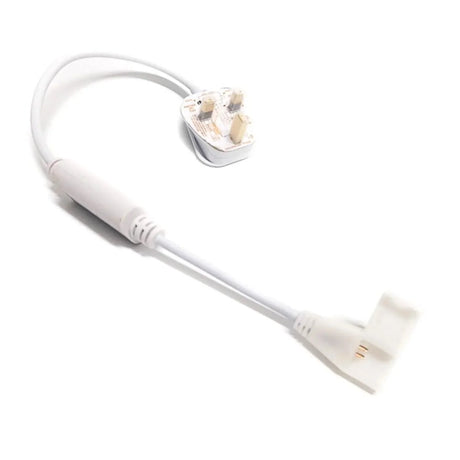
LED Neon Flex AC 220V 240V 8x16mm Single Colour Wireless Connector
SKU: NFCONTROL8X16£11.95Unit price /Unavailable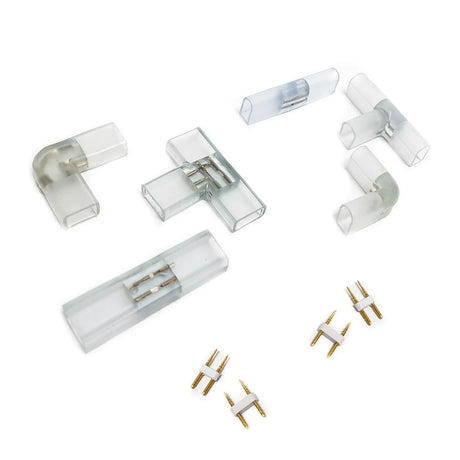
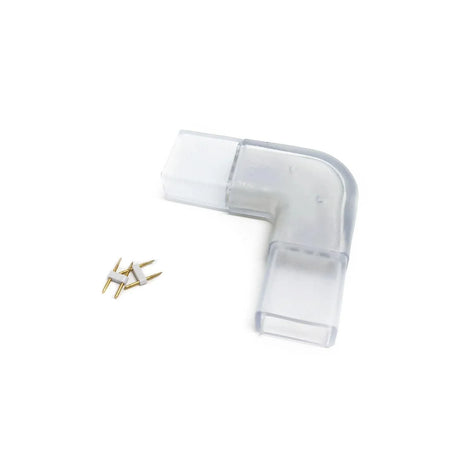
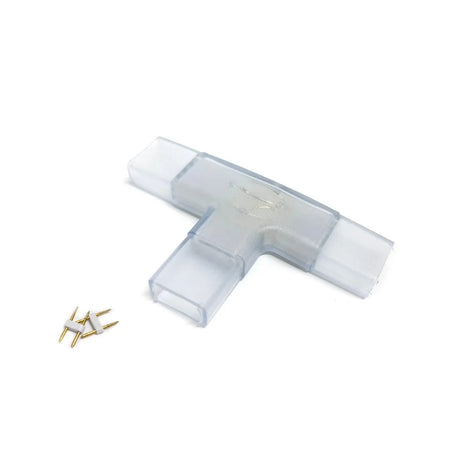
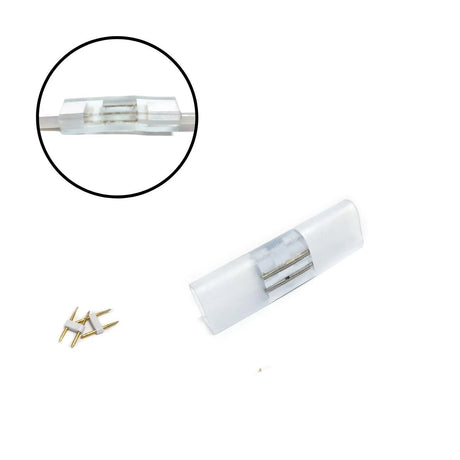
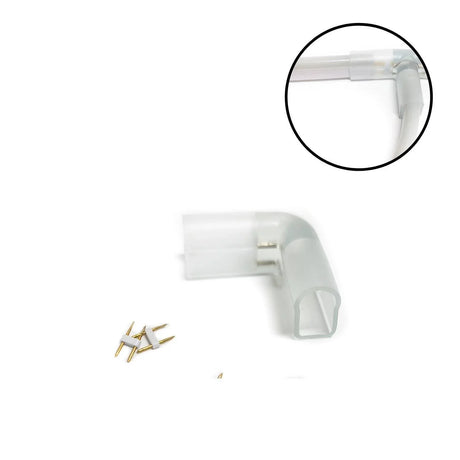
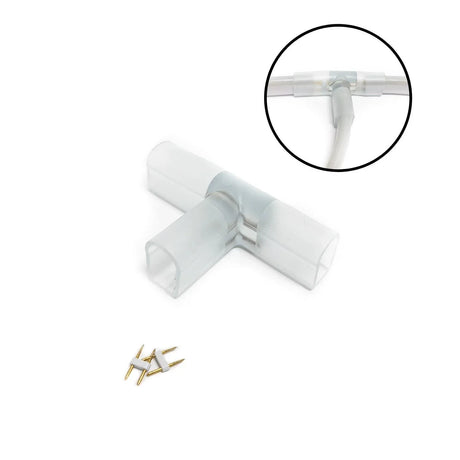
LED Neon Flex Single Colour 220V 240V 2 Pin 8x16mm Connector L , T , Straight
SKU: CON816220V-LVFrom £5.95Unit price /Unavailable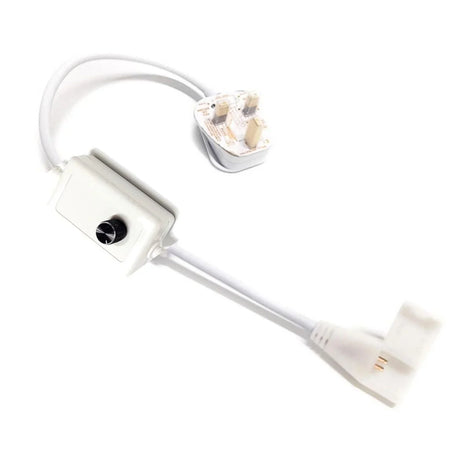
LED Neon Flex Wireless AC 220V 240V 8x16mm Single Colour Dimmer Controller
SKU: ALNFDIMC220V816-WIRLS£15.85Unit price /Unavailable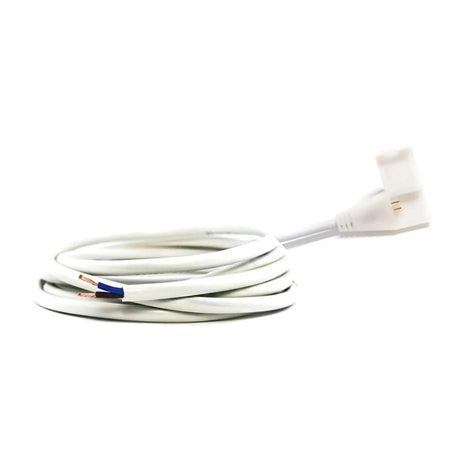
LED Neon Flex Wireless Connector Cable DC 12V/ 24V 8x16mm Single Colour
SKU: NFCON24V816-WIRLS£12.85Unit price /Unavailable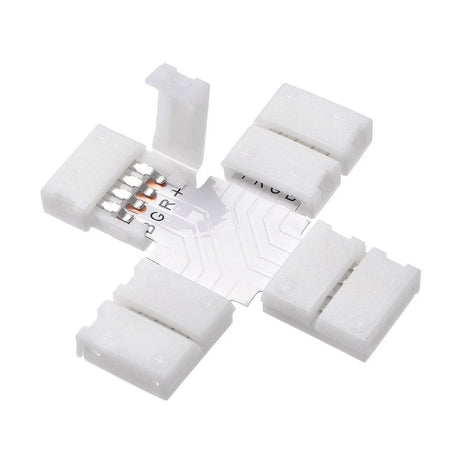
LED Strip Accessories 5pcs + Shape PCB RGB Connectors 4 pin 10mm
SKU: ALRGBC10MM4PIN+£6.83Unit price /Unavailable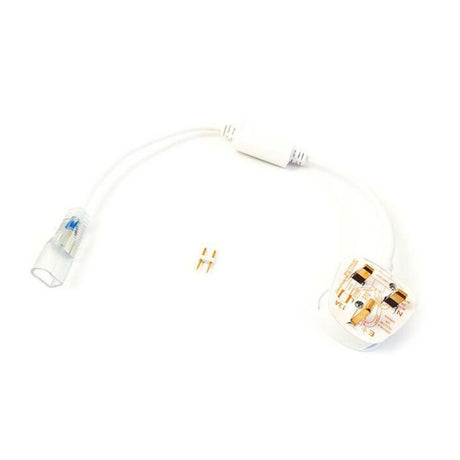
LED Strip 220V 240V Controller For 5730 180 LEDs/m 2 Pin with UK Plug
SKU: ALC5730180LED220V£13.49Unit price /Unavailable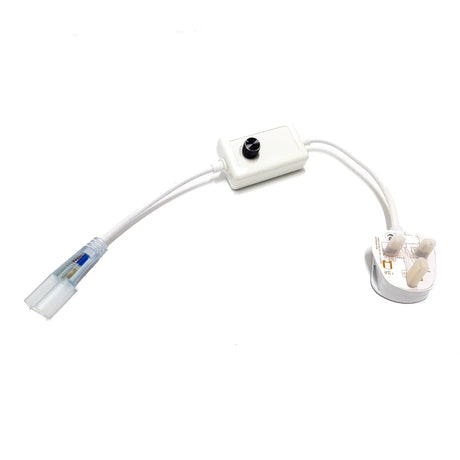
LED Strip Single Colour 5730 180 LEDs/m AC 220V 240V Dimmer Controller
SKU: 5730LEDSTRIP-DC£12.85Unit price /Unavailable

Essential Connection Systems
LED Strip Connectors
Our range of LED Strip Connectors provides reliable electrical connections for all types of LED strip lighting. From basic single-colour connections to complex RGB systems, our connectors ensure consistent power delivery and signal integrity throughout your installation.
By Connection Type
- Solderless LED Strip Connectors for quick, tool-free installation
- Quick-Connect LED Strip Adapters for rapid assembly and disassembly
- Heat-Shrink LED Connectors for permanent, weatherproof connections
- LED Strip Splitters for creating branches and multi-direction runs
By Strip Compatibility
- RGB LED Strip Connectors with 4-pin configuration
- 4-Pin LED Strip Connectors for standard RGB installations
- 5-Pin RGBW LED Connectors for RGBW and RGBWW systems
- 5050 RGB LED Strip Connectors specifically designed for 5050 LED strip compatibility
By Environmental Protection
- Waterproof LED Strip Connectors for outdoor and moisture-prone installations
- IP65/IP68 Waterproof Connectors offering different levels of moisture protection
- LED Strip Connectors for Outdoor Use with UV-resistant materials
- Outdoor LED Strip Connectors designed to withstand temperature fluctuations
Extension & Power Cables
Our LED Extension Cables allow you to bridge gaps, navigate obstacles, and extend your lighting installations while maintaining proper power and signal delivery. Available in various lengths and configurations to suit any project requirement.
Standard Extensions
- Single-colour extension cables in various lengths
- 4-Pin RGB Extension Cables for RGB strip systems
- Heavy-duty cables for higher current applications
- Pre-terminated cables with compatible connectors
Specialty Power Solutions
- LED Strip Power Supply cables and adapters
- LED Strip Power Adapters for connecting to various power sources
- Male-to-Female LED Adapters for system extensions
- Distribution cables for multi-point power injection
Connection Accessories
Complete your connection system with specialized components that enhance functionality and simplify complex installations.
Junction Components
- LED Strip Corner Connectors for navigating 90° turns
- LED Strip Joiner Clips for straight connections between strips
- T-connectors for creating branches and splits
- Cross connectors for intersection points
Adapter Solutions
- LED Strip Light Adapters for transitioning between different systems
- LED Strip Adapters for connecting strips to controllers
- Protocol converters for integrating different LED technologies
- Voltage step-down adapters for mixed-voltage systems
Mounting & Installation Solutions
Mounting Hardware
Secure your LED strips precisely where you want them with our range of professional mounting solutions. From discreet clips to specialized brackets, we provide the hardware needed for stable, long-lasting installations.
Clip Systems
- LED Strip Light Clips for basic surface mounting
- LED Strip Clips in various sizes for different strip widths
- LED Strip Mounting Clips with screw holes for permanent installation
- Silicone-cushioned clips for reduced vibration
Specialized Mounts
- Adjustable-angle brackets for directional lighting
- Magnetic mounts for temporary or repositionable installations
- Suspension systems for pendant-style lighting effects
- Recessed mounting hardware for flush installations
Finishing Components
Create a professional, polished appearance while protecting your LED installation with our range of finishing accessories designed for both functionality and aesthetics.
End Caps & Terminators
- LED Strip End Caps for clean termination points
- Silicone LED End Caps for flexible and waterproof applications
- Colour-matched end caps for seamless integration
- Combination end caps with power feed-through capability
Protection & Enhancement
- LED Strip Heat Shrink Tubing for connection protection
- Diffuser covers for softer light distribution
- Anti-UV sleeves for prolonged outdoor performance
- Cable management solutions for organized installations
Advanced Installation Tools & Accessories
Installation Tools
Professional-grade tools that simplify the installation process, ensure proper alignment, and create clean, precise results even in challenging applications.
- Specialized cutting tools for clean LED strip termination
- Alignment guides for perfect positioning
- Testing equipment for verifying connections before final installation
- Professional-grade installation kits with essential components
Control & Power Components
Essential accessories for powering and controlling your LED lighting systems, ensuring optimal performance, versatility, and user convenience.
- LED Strip Dimmer Controllers for adjustable brightness
- Remote control systems for convenient operation
- Smart controllers for integration with home automation
- Signal amplifiers for extended installations
Choosing the Right Accessories
Compatibility Considerations
Voltage Requirements
Select accessories that match your LED system's voltage. Our range includes 12V/24V LED Strip Connectors as well as options for 48V systems, ensuring proper electrical compatibility for safe, reliable operation.
Strip Type & Dimensions
Different LED strips require specific connector types. Standard single-colour strips typically use 2-pin connectors, while RGB LED Connectors require 4-pin connections and RGBW strips need 5-pin connectors. Always verify the physical dimensions and connection layout of your LED strips before selecting accessories.
Environmental Protection
For outdoor or moisture-prone installations, choose Waterproof LED Connectors with appropriate IP ratings. IP65 provides protection against water jets, while IP68 offers full submersion protection for underwater applications.
Application-Specific Solutions
Architectural Lighting
For architectural applications, consider LED Strip Connectors for Ceiling Lighting and LED Connectors for Ceiling Coving that provide discreet, professional results while accommodating building contours and structural features.
Signage & Display
LED Strip Connectors for Signage and LED Connectors for Signage are designed for the specific requirements of commercial displays, offering secure connections while maintaining clean lines and visual consistency.
Automotive & Transportation
For vehicle applications, LED Strip Connectors for Automotive Lighting and LED Connectors for Automotive Lighting provide vibration resistance and compact design suited to the unique challenges of mobile installations.
Outdoor & Landscape
Landscape lighting requires durability and weather resistance. Our outdoor-rated connectors and accessories feature enhanced UV protection, temperature tolerance, and moisture resistance for reliable long-term performance.
Installation Best Practices
Planning & Preparation
Successful LED installations begin with thorough planning. Calculate power requirements, map connection points, and identify potential challenges before beginning the physical installation. Ensure you have all necessary accessories and allow additional length for connectors and adaptation points.
Connection Security
For reliable long-term performance, ensure all connections are secure and protected. Use Solderless LED Strip Connectors according to their design specifications, applying appropriate pressure for clip styles and ensuring full insertion for push-in varieties.
Environmental Protection
In outdoor or high-humidity environments, use Waterproof LED Strip Connectors and apply additional silicone sealant at connection points for maximum protection. Consider heat-shrink tubing as an additional protective layer for critical connections.
Stress Relief & Support
Provide adequate support for connection points to prevent mechanical stress on the solder joints or connectors. Use LED Strip Mounting Clips near connection points and avoid tension on cables that could compromise connection integrity.
Frequently Asked Questions
What mounting channels fit 14x26mm neon flex tubes
Use an aluminium mounting channel made for 14x26mm neon flex, or choose a channel with an internal opening slightly larger so the silicone sleeve fits without squeezing. Make sure the channel uses matching clips or retainers so the flex stays secure.
How to waterproof end caps for outdoor neon flex lights
Cut the neon flex square, dry the end fully, then fit the correct end cap and seal it with outdoor grade silicone. Seal the cable exit as well and let it cure fully before you power it on.
Best connectors for RGB neon flex strip joins
Use waterproof 4 pin connectors rated for outdoor use and sized for your cable thickness and current. For the most reliable join outdoors, use a sealed connector housing or a soldered join covered with adhesive lined heat shrink.
How to cut and seal silicone LED neon strips safely
Turn power off, cut only at the marked cut point, and use a sharp blade for a clean edge. Fit an end cap and seal it with outdoor grade silicone so water cannot wick inside.
Recommended power supplies for long neon flex runs up to 10m
Check the watts per metre, multiply by your total metres, then add 20 to 30 percent headroom. Choose a constant voltage power supply that matches the strip voltage and keep it in a dry, ventilated, weatherproof location.
What clips secure neon flex to fences without drilling?
Use outdoor rated adhesive mounting clips on a clean, dry surface, or strap the flex with UV stable cable ties through fence gaps if the fence design allows. Avoid relying only on the flex’s own adhesive backing outdoors.
Which aluminium profiles diffuse LED strips evenly on deck edges?
Use an aluminium channel with an opal diffuser cover so you soften hotspots and protect the strip. A deeper profile usually diffuses better than a shallow one.
How do stainless steel brackets resist rust in wet gardens?
Choose corrosion resistant stainless steel, and use matching stainless fixings so you reduce rust risk. Keep dirt and standing water off the fittings where possible.
Why use silicone end caps with sealant on cut neon flex ends?
They block water from entering the silicone sleeve and reaching the LED tape inside. The sealant fills tiny gaps so moisture cannot creep in over time.
What 2 pin quick connectors join outdoor strips at corners safely?
Use waterproof 2 pin connectors that match your strip width, wire size, and current rating. Keep polarity correct and protect the connection inside a sealed junction or connector housing.
How do bifurcation plugs split power for branched garden paths?
They split one power feed into two branches so you can run separate sections from the same driver. Make sure the combined load stays within the driver rating and protect each branch with the right fuse.
Which adapters link 12V or 24V strips to waterproof drivers?
Use adapters that match the driver output connector and the strip input lead, with correct polarity and a current rating above your load. For outdoor installs, use waterproof inline connectors instead of open plug adapters.
What heat shrink tubing prevents joint corrosion in rain?
Use adhesive lined heat shrink because it seals the joint as it shrinks and helps stop water getting to the copper. Apply it over a solid connection and shrink it fully so the adhesive flows at both ends.
How to choose clips for 6 to 20mm neon widths on curves
Match the clip size to the neon flex width, and use more clips on tight curves so the flex does not lift. Keep bends smooth and do not force the flex into a radius it does not support.
How do I choose the right connector type for my LED strip?
Match the connector to your strip width and pin count, and make sure it suits your strip type like single colour, CCT, RGB, RGBW, or addressable. Also match the connector current rating and IP rating to where you will install it.
Can I connect different types of LED strips together?
Do not connect different control types directly because they use different wiring and controllers. You can run them from the same power supply only if they share the same voltage and you stay within the power supply rating.
Are solderless connectors reliable for permanent installations?
They can work well indoors or in sheltered areas if you secure the cable so it cannot pull on the joint. For outdoor or high vibration installs, use a sealed waterproof connector or a soldered join with proper sealing.
How many mounting clips do I need for a secure LED strip installation?
Use a clip about every 30 to 50 cm on straight runs, and add extra clips at corners and joins. For heavier neon flex or exposed outdoor runs, use closer spacing.
What’s the difference between IP65, IP67, and IP68 rated connectors?
IP65 handles rain and water spray, IP67 handles short term immersion, and IP68 is designed for deeper or longer immersion based on the maker’s rating. Even with higher ratings, you still need to seal cable entry points correctly.
How do I extend my LED strip installation without voltage drop?
Feed long runs in parallel and inject power at more than one point so the far end stays bright. Use thicker cable for longer distances and keep power supplies close to the load when you can.
Can I reuse LED strip connectors if I need to modify my installation?
Yes, if the connector still grips firmly and the contacts look clean with no corrosion. Replace it if the latch feels loose, the pins look damaged, or the connection has heated up before.
Do I need special tools to install LED strip accessories?
You usually only need basic tools like a tape measure, cutter, wire stripper, and screwdriver. A heat gun helps if you use adhesive lined heat shrink for outdoor sealing.